Wednesday, January 28, 2015

Valentine's Day Mantle

I have been a blogging slacker for the last year. 
I started college and time has gotten away from this woman! 
We just bought a house and have been settling in and I finally have time to decorate. I also have a daughter that is almost 14 and is as crafty,and more artsy than her mom to help me.
Yesterday she and I went for a walk to the 
local Joann's (lucky for us it is only a block away) and 
went to town decorating our new mantle.

Most of what we found was right in my sewing room. Like theses decorative jars I have had forever.
Just add some cherry jelly hearts 
and
conservation hearts 

This heart is the piece that started it all for me. I found this glittery wire heart and had to add it.
The polka dot Love was also found in the stash!


My favorite addition is this cute spiky pitcher with red hydrangeas in it. 
So Cute!!

Daughter found this mailbox. It added to the memories of getting valentines from the other kiddos at school.

This bunting is awesome. We cut paper hearts 
out of decorative paper 
and 
used glue dots so that we can reuse the burlap backing. 
The red and white 
baker's twine 
finish it off.

A friend gave us this cute owl lamp when we moved in 
and daughter and I thought it was a cute accent, 
and pulled the whole fireplace into the whole thing. 


The red beads scattered around the mantle are 
$1 heart necklaces. 
Two necklaces for a buck. 
Can't go wrong with a dollar!!
Hope you all love it as much as we do!

Monday, February 24, 2014

Robot Cake and a Birthday!

It is that time of year again at our house.
Birthday time!!
February is the first month of the year that has a birthday at our house. 
Little Dude is turning 9 and when the time came for him to look through my cake books and choose a cake he went for it and picked a robot cake!
This book is awesome!


There are so many ideas and shortcuts to awesome cakes.

The first thing I had to do was go out searching for all the candy needed for this guy.


I don't live in a huge town so I had to make some substitutes for the candy I couldn't find. For example BottleCaps for Razzles and Mini M&Ms for the Jujubees.
That OK. 
If I didn't tell... no one would know!

I followed the directions in the book except I made my cake instead of buying store bought pound cakes.

Crumb layer


We chose green instead of blue. (I am of the opinion that blue is not a food color. Just a pet peeve!)
Once it was frosted it was time for assembly.

Head, arms, ears, neck.


The all important lollypops added. 


Frosting dots. I didn't like the little points that the frosting tip left so how to fix that? 
TIP:

Dip your finger in some water, shake off the excess and gently press the peak down. The frosting won't stick to your finger and it will nicely round out.

Yeah, Yeah, he is legless! 
I did it on purpose, I swear.
There are 6 people in our family. This year we are not having company over for cake so I left the legs off because really... 
isn't this enough cake already?
I didn't want to be too wasteful! 


Look at the kid!
He doesn't care that his robot has no legs. 
He is happy as a kid can be!


HAPPY BIRTHDAY KIDDO!!

Thursday, January 16, 2014

Love Day Wreaths!!

I am back people!!
It has been almost a year since I last blogged! It is time for me to stop being lazy and to get back to what I love.
Crafts
&
Blogging!!
 
 
It is Love Day time. Which means I get to make some wreaths for my doors.
We have moved to a new city and the house we are renting has two doors. A front door and a side door.
What does this mean?
I get to have twice as much fun as before!
This year, with the help of Pinterest and some divine inspiration we have two very different wreaths.
 
 
The red one is my favorite. I was walking through Joann's and having a hard time coming up with any sort of inspiration for this project. I looked over and
BAM!!
There was a square, metal wreath frame.
A picture popped into my head.
I probably looked like a crazy lady to the people around me cause I just started darting everywhere in the store.
To make it I bought red felt by the yard. I bought 3 yards of felt. I had extra but hey...
Better to have too much than not enough!
 
 
Now to the cutting. I just cut about 8 inch by 1.5 inch strips. It is a totally random number, that is just the size that looked good to my eye.
Fun part now.
Pick a good TV show on Netflix, grab a comfy spot with lots of room, your favorite beverage on hand, and
start tying!!
I crammed as many as I could fit on that baby! A full knot is not needed, half a square not is good. The felt holds to itself pretty well.
Keep knotting until you get a nice full square.


It still looks a tad nekkid to me. I didn't want to overdo it so a simple burlap ribbon bow was just the thing.
Attach wherever you like and
"Beautiful, Gorgeous, Wish you were here!!"


The Side Door Wreath:
 
I had 2 balls of pink yarn. I am currently trying to depleat my yarn supply. The bucket is too full, and they always unravel only to make a giant ball of mess.
Drives me nuts.
Back to the project!
A 14 inch foam wreath, 2 balls of leftover pink yarn, gray and smoky gray felt squares, pink buttons, a glue gun, a strip of unbleached muslin, red marker, red and white bakers twine and a ribbon to hang it with.
 
I wrapped the wreath until I was out of yarn. I always do the first layer pretty even to cover the foam. After that I just wrap trying to make sure they stay realtively even.
I like the look of the string showing.
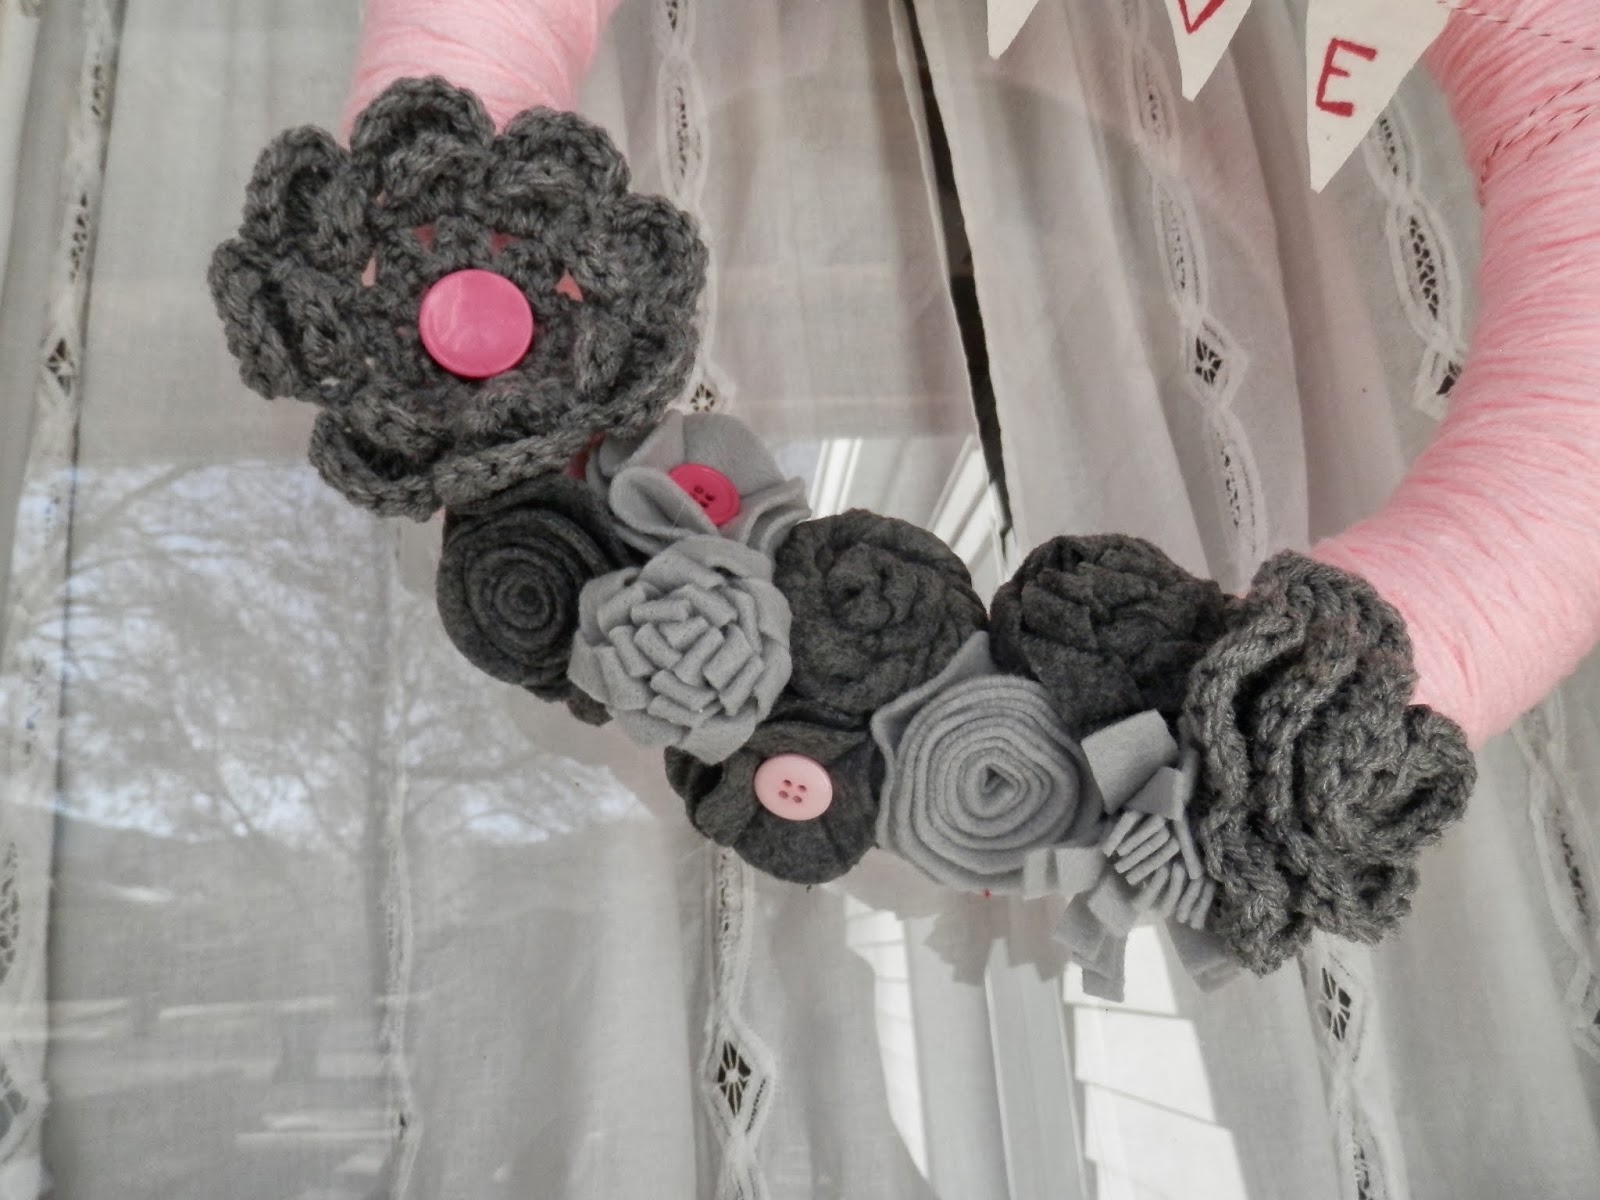
 
For the flowers I went on Pinterest and looked up felt flowers. I copied a bunch of patterns and made up a few of my own. For the crocheted flowers I did the same thing.

 
I scrounged through my pink buttons and found some to glue in the middle for some color.
For the banner I just free handed some pennants out of unbleached muslin.
 The bakers twine was put on a needle and I just wove the needle through the fabric, wrapped the ends around the wreath and secured it with a pin.
Sharpie love for the letters.
and...


Beautimus!!!


Hope you like them.
I promise to keep them coming!
My goal is to
Craft
Blog
Craft
Blog
Craft
Blog
You get the drift!
V.

Friday, March 29, 2013

New Items In The Store

Hey peeps!
I have some cool new items in my Etsy Store.
Check it out!!
 Thanks to my cute models.
Regan, Addie and Amy.
You girls
ROCK!!


Happy Shopping!!


Monday, March 11, 2013

Construction Cake

A friend's little boy is turning 3.
She wanted a cool cake for him and asked me to come up with something to do with construction.
After spending way too much time on Pinterest.
(Thank heavens for Pinterest!!)
I found a cute idea.
 What could be better than trucks and dirt?
I started with a 10 inch pan and an 8 inch pan and lined them with parchment paper.


For the crumb layer I made up a quick buttercream. Since I was going to be cutting a chunk out of the cake to look like it had been excavated I knew it was going to be a crumbly mess. I frosted the whole thing and put it in the freezer for about 15 minutes before I cut the chunk out. I then put the buttercream on the cut part. That way it was still soft and the Oreo dirt stuck to it.


Decorating Time!
 
This is my favorite part. Since I couldn't find just one big digger truck I found a fun 5 pack. I wanted to cram them all on there because they were all cool trucks but alas... it wasn't big enough.


Construction cones.
In the picture I found on Pinterest she used fondant. I have a love hate relationship with fondant. (I would like to love it but right now I hate it.) So I used Starburst. I just warmed them, still wrapped, in my hand and then molded them into cones. The bottoms I got soft in the microwave for 10 seconds and rolled out with a rolling pin. Pizza cuttered them and they stuck together pretty well with me just warming the bottom of the cone with my finger and pressing them together.

Once all the dirt was added, the trucks  placed and the cone put up it looks pretty good. I also added candy rocks into the big pile of dirt on the top.

Giant
hole!
 
 
Vinny I hope you have a wonderful birthday and enjoy your cake!!


Friday, February 1, 2013

Great Deals On My Memories v.4

Hey everyone. Long time no see. I am back. Life has slowed down as much as life can and I am getting back into blogging.
I am offering a great deal from
My Memories Suite.
 
Use the following code and you can save $10 on the purchase of the My Memories program.
 
STMMMS87341
 
I will be posting ideas, projects and new products on here periodically so check back.
 
Just click on the link at the top of my blog and you will be directed to the right place to get you started.
 
I am learning as I go so lets learn together. This is going to be fun!!
 

Tuesday, December 11, 2012

Elf on the Shelf 2012 - Day 7

 He has found the fridge! 
This morning we found Ernie in the fridge where he had colored the milk. 
PINK!!
 
 I think this calls for cookies.
What do you think??